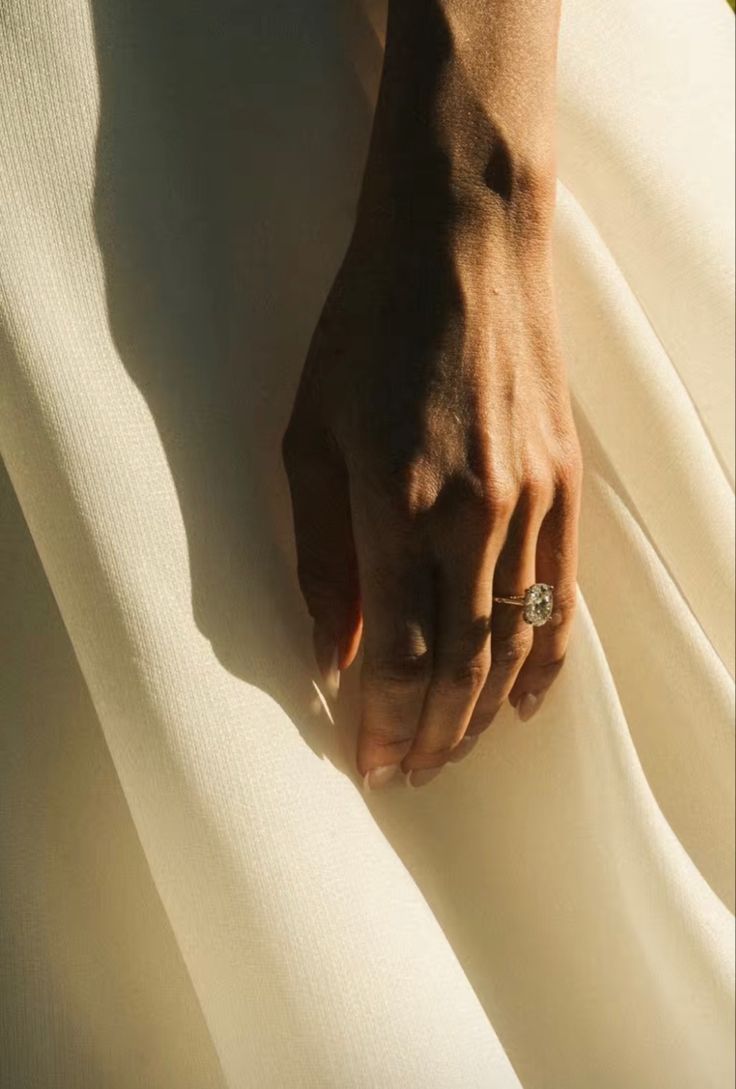
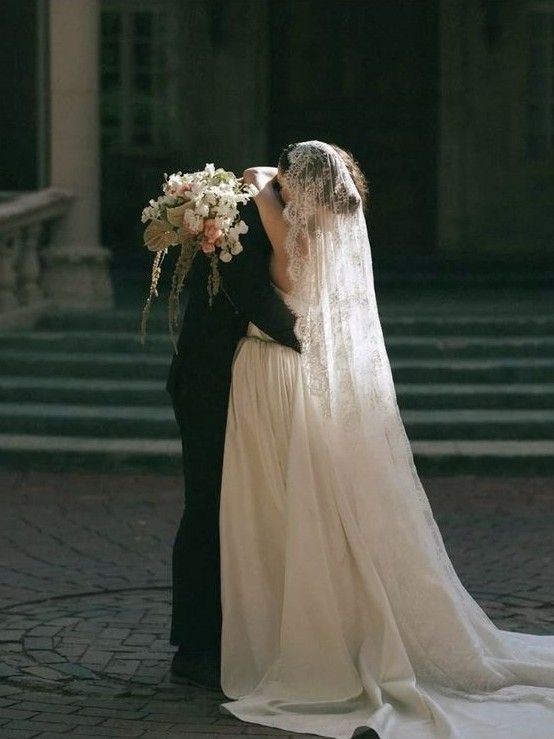
The garden-style bouquet is the one that looks like you gathered it from the most beautiful garden that ever existed, just moments before walking down the aisle. Loose, romantic, a little wild. Here is how I approach every one I build.
There is a particular kind of bouquet that makes people lean in. It is not the tightest, not the tallest, not the most technically demanding. It is the one that looks as though it happened by accident, as though someone walked through a cottage garden at golden hour and simply gathered what was beautiful. That is the garden-style bouquet, and it is the single most requested design in my studio.
What people don't realize is that this "effortless" look is one of the most considered things you can build. Every stem has a purpose. Every tendril is placed with intention. The looseness is deliberate. The movement is designed. It only looks like nature because you've studied nature closely enough to recreate its logic.
Step one Start with the Greens
I never begin a garden-style bouquet with flowers. I begin with foliage. This is the foundation, the architecture. Without it, the bouquet has no movement, no depth, and no wild quality.
Choose three to four types of greenery with different textures and growth habits. I reach for eucalyptus (the seeded variety, not the silver dollar), Italian ruscus for its elegant drape, jasmine vine for movement, and sometimes a sprig of rosemary or mint for unexpected scent. Build a loose, open nest in your hands. Do not grip tightly. The greens should feel airy, like they could breathe.
This is where most florists make their first mistake. They pack the greens too tightly or use too few varieties. A garden bouquet needs at least three different foliage textures to feel authentic. Think about what you would actually see growing in a garden: not one leaf repeated endlessly, but a layered, varied canopy.
Step two Place Your Focal Flowers
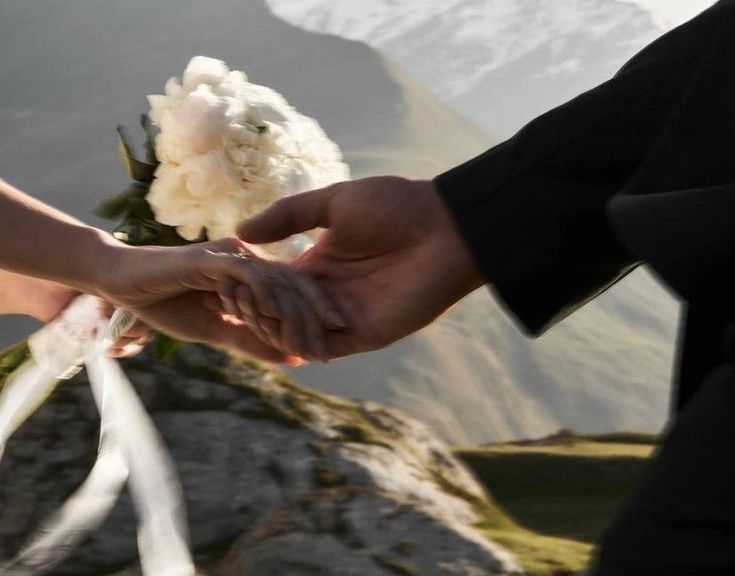
Now comes the part that takes restraint. Choose two to three focal blooms. not more. These are your largest, most eye-catching stems. garden roses, peonies, ranunculus, or dahlias depending on the season. Place them at slightly different heights and angles. Never cluster them together. Think of them as the anchor points of a constellation, with space between each one.
The temptation is always to add more. Resist it. A garden bouquet gets its beauty from negative space and breathing room. If every inch is filled with a dinner-plate dahlia, you have lost the garden and built a sphere. Place your focals, step back, and let the foliage do its work between them.
Step three Layer the Supporting Cast
This is where the magic happens. Between your focal flowers, tuck in the smaller, more textural blooms that give a garden bouquet its soul. Sweet peas for fragrance and flutter. Scabiosa for whimsy. Astilbe for that feathery softness. Spray roses for scale contrast. Queen Anne's lace or ammi majus for that wildflower quality that makes people sigh.
Work at varying heights. Some stems should sit just above the foliage; others should reach up past the focals. Let some blooms face sideways. Let a stem or two arc outward, away from the body of the bouquet. This is what creates that "just picked" quality. Real garden flowers don't all face the same direction.
"A garden bouquet should feel like a conversation between thirty different stems. not a chorus line, but a dinner party. Everyone contributes something different."
Step four Add Movement and the Unexpected
The final layer is what separates a competent garden bouquet from an unforgettable one. This is where you add the elements that make people pause: a trailing amaranthus, a single butterfly ranunculus at an unexpected angle, a sprig of fruiting viburnum, a wisp of clematis vine.
I always include at least one "guest of honor" stem. something the bride might not have expected. A chocolate cosmos tucked low. A single foxglove reaching tall. A stem of ripe blackberries from the farmers market. These are the details that make the bouquet feel personal, considered, and alive.
Step five The Binding and the Finish
Hold the bouquet at the natural binding point, where all the stems cross. Wrap with waterproof floral tape, then finish with ribbon. I prefer a raw silk or linen ribbon in a muted tone. ivory, sage, dusty rose. Wind it from the binding point down, leaving the last few inches of stem exposed at the bottom. Tuck the tail of the ribbon under and pin with a pearl-headed pin.
Before you finish, gently fan out the stems at the bottom. They should splay slightly, not sit ramrod straight. This small detail changes the entire silhouette from florist-made to garden-gathered.
A few parting notes Things I've Learned Along the Way
Work in natural light whenever possible. The colors you see under fluorescent studio lights will deceive you. Garden bouquets live in daylight, and they should be designed in it.
Don't be afraid of imperfection. A petal that's slightly browned at the edge, a bloom that's just past its peak, a stem that curves in an unexpected direction. these are the things that make a garden bouquet feel real. The goal is not perfection. The goal is beauty that feels lived in.
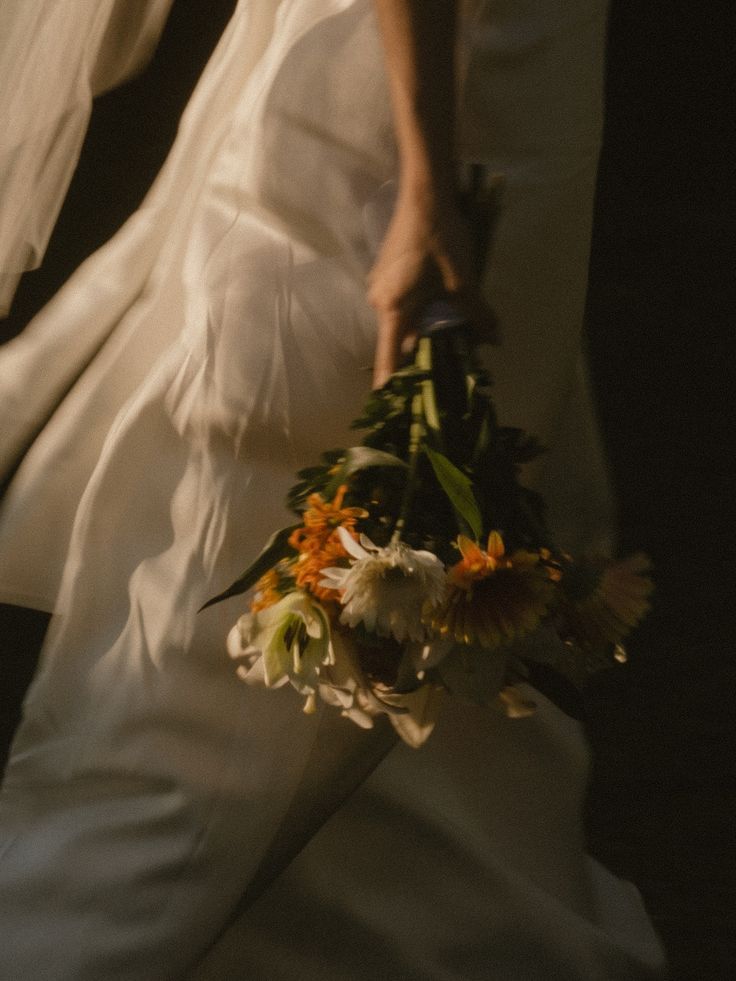
Finally, make one for yourself before you ever make one for a client. Sit with it. Carry it. See how it moves. A garden bouquet is not a static object. It is something alive, and the only way to understand it is to hold it in your hands and watch the light move through it.
Aurelie, Hudson Valley, March 2026